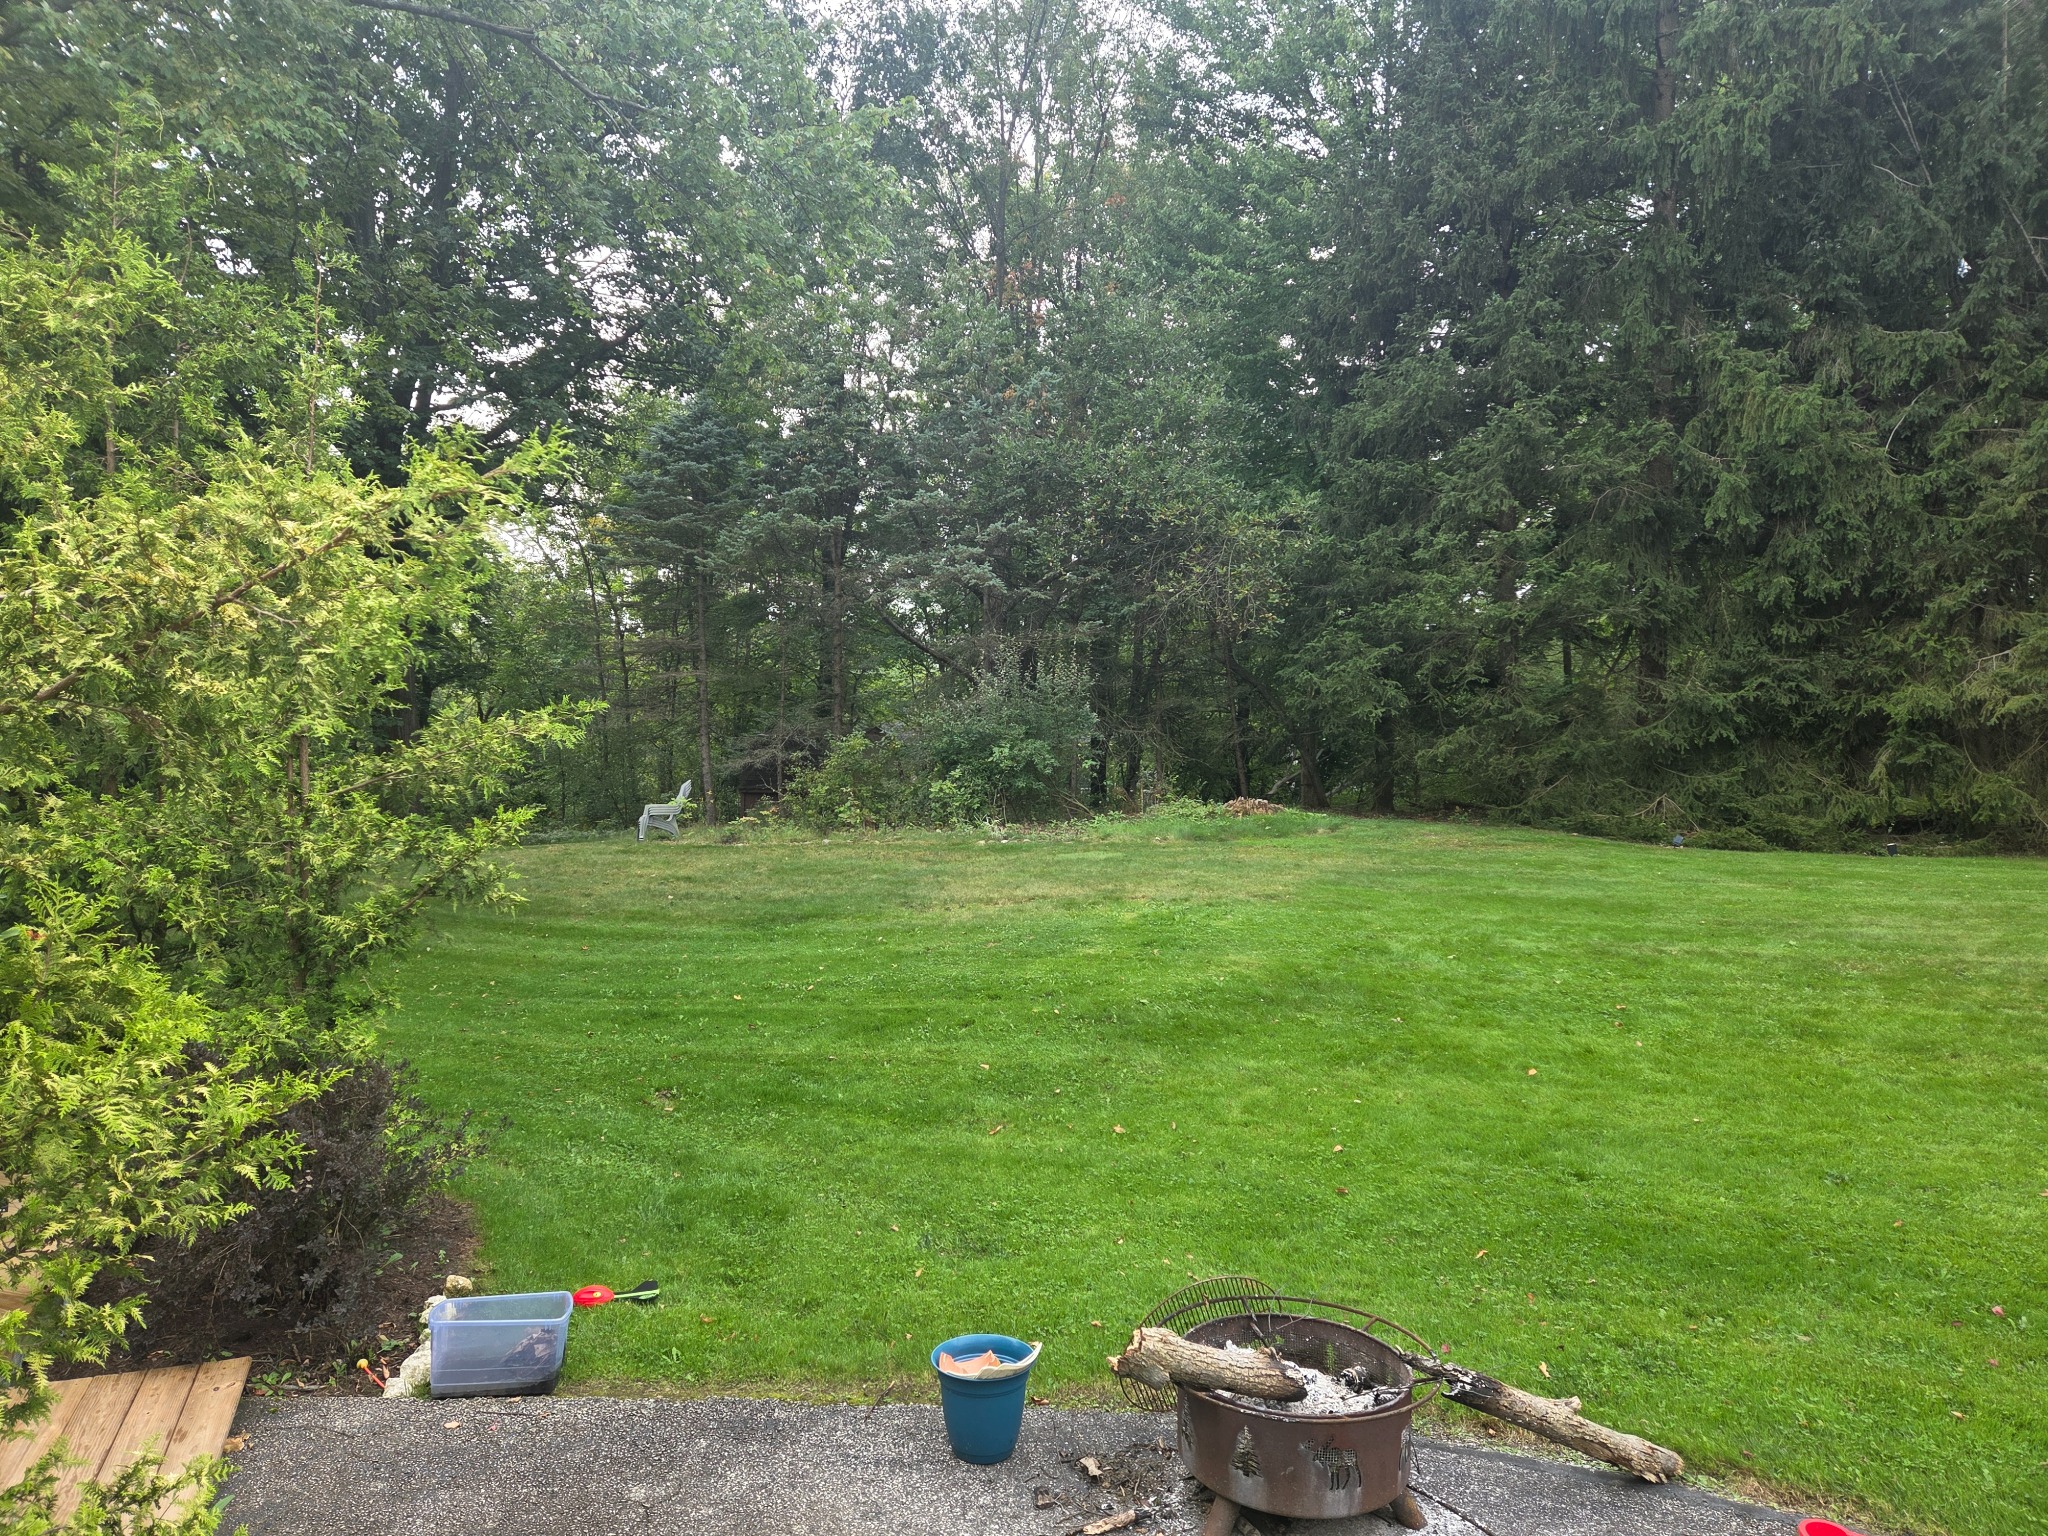
The key decision: level the beds, not the whole 20×10 area. Working with the existing grade should reduce excavation, protect nearby tree roots, and preserve the rustic transition into the woods.
Before buying or digging
- Watch the light. Record direct and filtered sun after the trees leaf out; reserve the brightest portion for the vegetable beds.
- Contact Ohio 811. Ohio requires homeowners to notify Ohio 811 before digging. Submit the request at least two working days before excavation and wait for the required responses.
- Check private lines. Irrigation, invisible fencing, lighting, drainage, or utilities installed beyond public service points may require a private locator.
- Review local rules. Confirm fence height, setbacks, drainage restrictions, and any neighborhood requirements before ordering posts.
- Plan access. Decide where bulk soil, chips, and lumber can be delivered and how they will move safely to the hillside.
Our working layout
The sketch is a starting point. We will stake the full footprint and walk through it before cutting lumber, making sure the gate opens freely and every planting area can be reached without stepping into soil.
Step 1: stake and measure the slope
Mark the outer 20×10 boundary, both 3×8 beds, the gate, and a comfortable path. Use mason line and a line level to measure the vertical change from the high side to the low side of each bed. That difference determines how much the downhill side must be supported or built up.
- Keep beds narrow enough to reach the center from outside.
- Avoid major roots; shift the layout rather than cutting structural tree roots.
- Keep runoff moving around the garden—not through the beds or toward the house.
Step 2: prepare two level bed pads
Remove only loose organic debris and vegetation beneath each bed. On a modest slope, cut slightly into the uphill side and use compacted mineral soil or appropriate base material to support the downhill edge. Check level front-to-back, side-to-side, and diagonally before filling.
Do not rely on loose wood chips, fresh topsoil, or uncompacted compost as structural support. If the grade is steeper than expected or the downhill wall would retain substantial soil, pause and get local professional advice rather than improvising a retaining wall.
Step 3: assemble and anchor the raised beds
- Cut rot-resistant, ground-contact-rated, or otherwise garden-appropriate lumber to the final plan.
- Preassemble each rectangle on a flat surface and confirm equal diagonals so it is square.
- Set the frames on the prepared pads and recheck level.
- Reinforce corners and long sides with exterior-rated hardware and stakes suited to the site.
- Add hardware cloth beneath the beds only if burrowing animals are a demonstrated problem and the material will not obstruct drainage.
Step 4: install posts, wildlife protection and gate
Set corner, gate, and intermediate posts only after utilities are marked and the fence line is confirmed. The final deer strategy must match local rules and observed pressure: a permitted tall barrier, a shorter layered design, or another proven system. Use smaller openings near ground level for rabbits and groundhogs, and bury or flare the bottom only where digging conditions and utility marks make that safe.
Build the gate wide enough for a loaded wheelbarrow. Hang it before attaching every section of mesh, then test swing, latch height, sag, and clearance over the path.
Step 5: build paths before filling beds
Lay clean, tape-free cardboard over the path area and cover it with a generous layer of arborist chips or shredded wood. Keep chips away from the crowns and trunks of existing trees. Completing the main path first gives us a cleaner route for moving soil and protects the hillside from repeated foot traffic.
Step 6: fill, settle and test drainage
Our two 3×8 beds at approximately 12 inches deep require about 48 cubic feet—or roughly 1.8 cubic yards—before settling. Fill in lifts, blend the components evenly, and water gently so air pockets settle. After a soaking rain or hose test, confirm that water drains without washing soil downhill.
Step 7: install simple irrigation
Route the hose through a protected opening near the gate. A pressure regulator, filter, timer, and drip or soaker lines can reduce daily hand watering. Flush the system before planting and check that the upper and lower portions of each bed receive comparable flow.
Step 8: plant in layers
Use the brighter bed areas for vegetables, keeping trellised peas on the north side. Plant native flowers in repeated groups outside the working path, placing moisture-loving species only where the soil proves suitable. Leave enough clearance to inspect the fence and maintain the beds.
Weekend-by-weekend schedule
Measure sunlight, submit the Ohio 811 request, check local fence rules, mark the slope, and finalize deliveries.
Stake the 20×10 footprint, confirm paths and gate swing, clear only what is necessary, and prepare level bed pads.
Assemble and anchor the two 3×8 beds, install posts, build the gate, and attach wildlife protection.
Add cardboard and wood-chip paths, fill beds with soil, install irrigation, and test drainage and gate operation.
Plant vegetables after construction is finished, add native flower groups, mulch, label, water deeply, and photograph the result.
Tools we expect to use
- Tape measure, stakes, mason line, marking paint and a notebook
- Four-foot level, line level and straight board
- Shovels, digging bar, garden rake and wheelbarrow
- Drill/driver, exterior-rated bits, square and clamps
- Circular or miter saw with eye and hearing protection
- Post-hole digger or auger suited to the marked site
- Work gloves, sturdy footwear and first-aid supplies
- Hose, watering wand and irrigation fittings
Mistakes we want to avoid
- Ordering soil before confirming delivery and wheelbarrow access.
- Building the beds before measuring the actual slope.
- Cutting major roots to force a preconceived layout.
- Installing a narrow gate or placing the latch where children cannot operate it.
- Depending on landscape fabric beneath organic paths.
- Planting before drilling, fencing, hauling, and other construction work is finished.
- Treating an estimated budget or material quantity as final before field measurements.
Safety and planning references
- Ohio 811: homeowner dig notifications and safety information
- Public Utilities Commission of Ohio: call before you dig
- Penn State Extension: raised beds and small-space gardening
Project note: This is our working homeowner plan, not structural, engineering, utility, or code advice. Site conditions and local requirements can change the design. This page does not currently contain paid affiliate links.